In this post you will know How to Create a Sliced Text effect in Photoshop. I explain everything in a simple way that even beginners can understand.
Table of Contents
Step 1
Create a high-resolution document in PS. I created a 2000×1500 px document.

Step 2
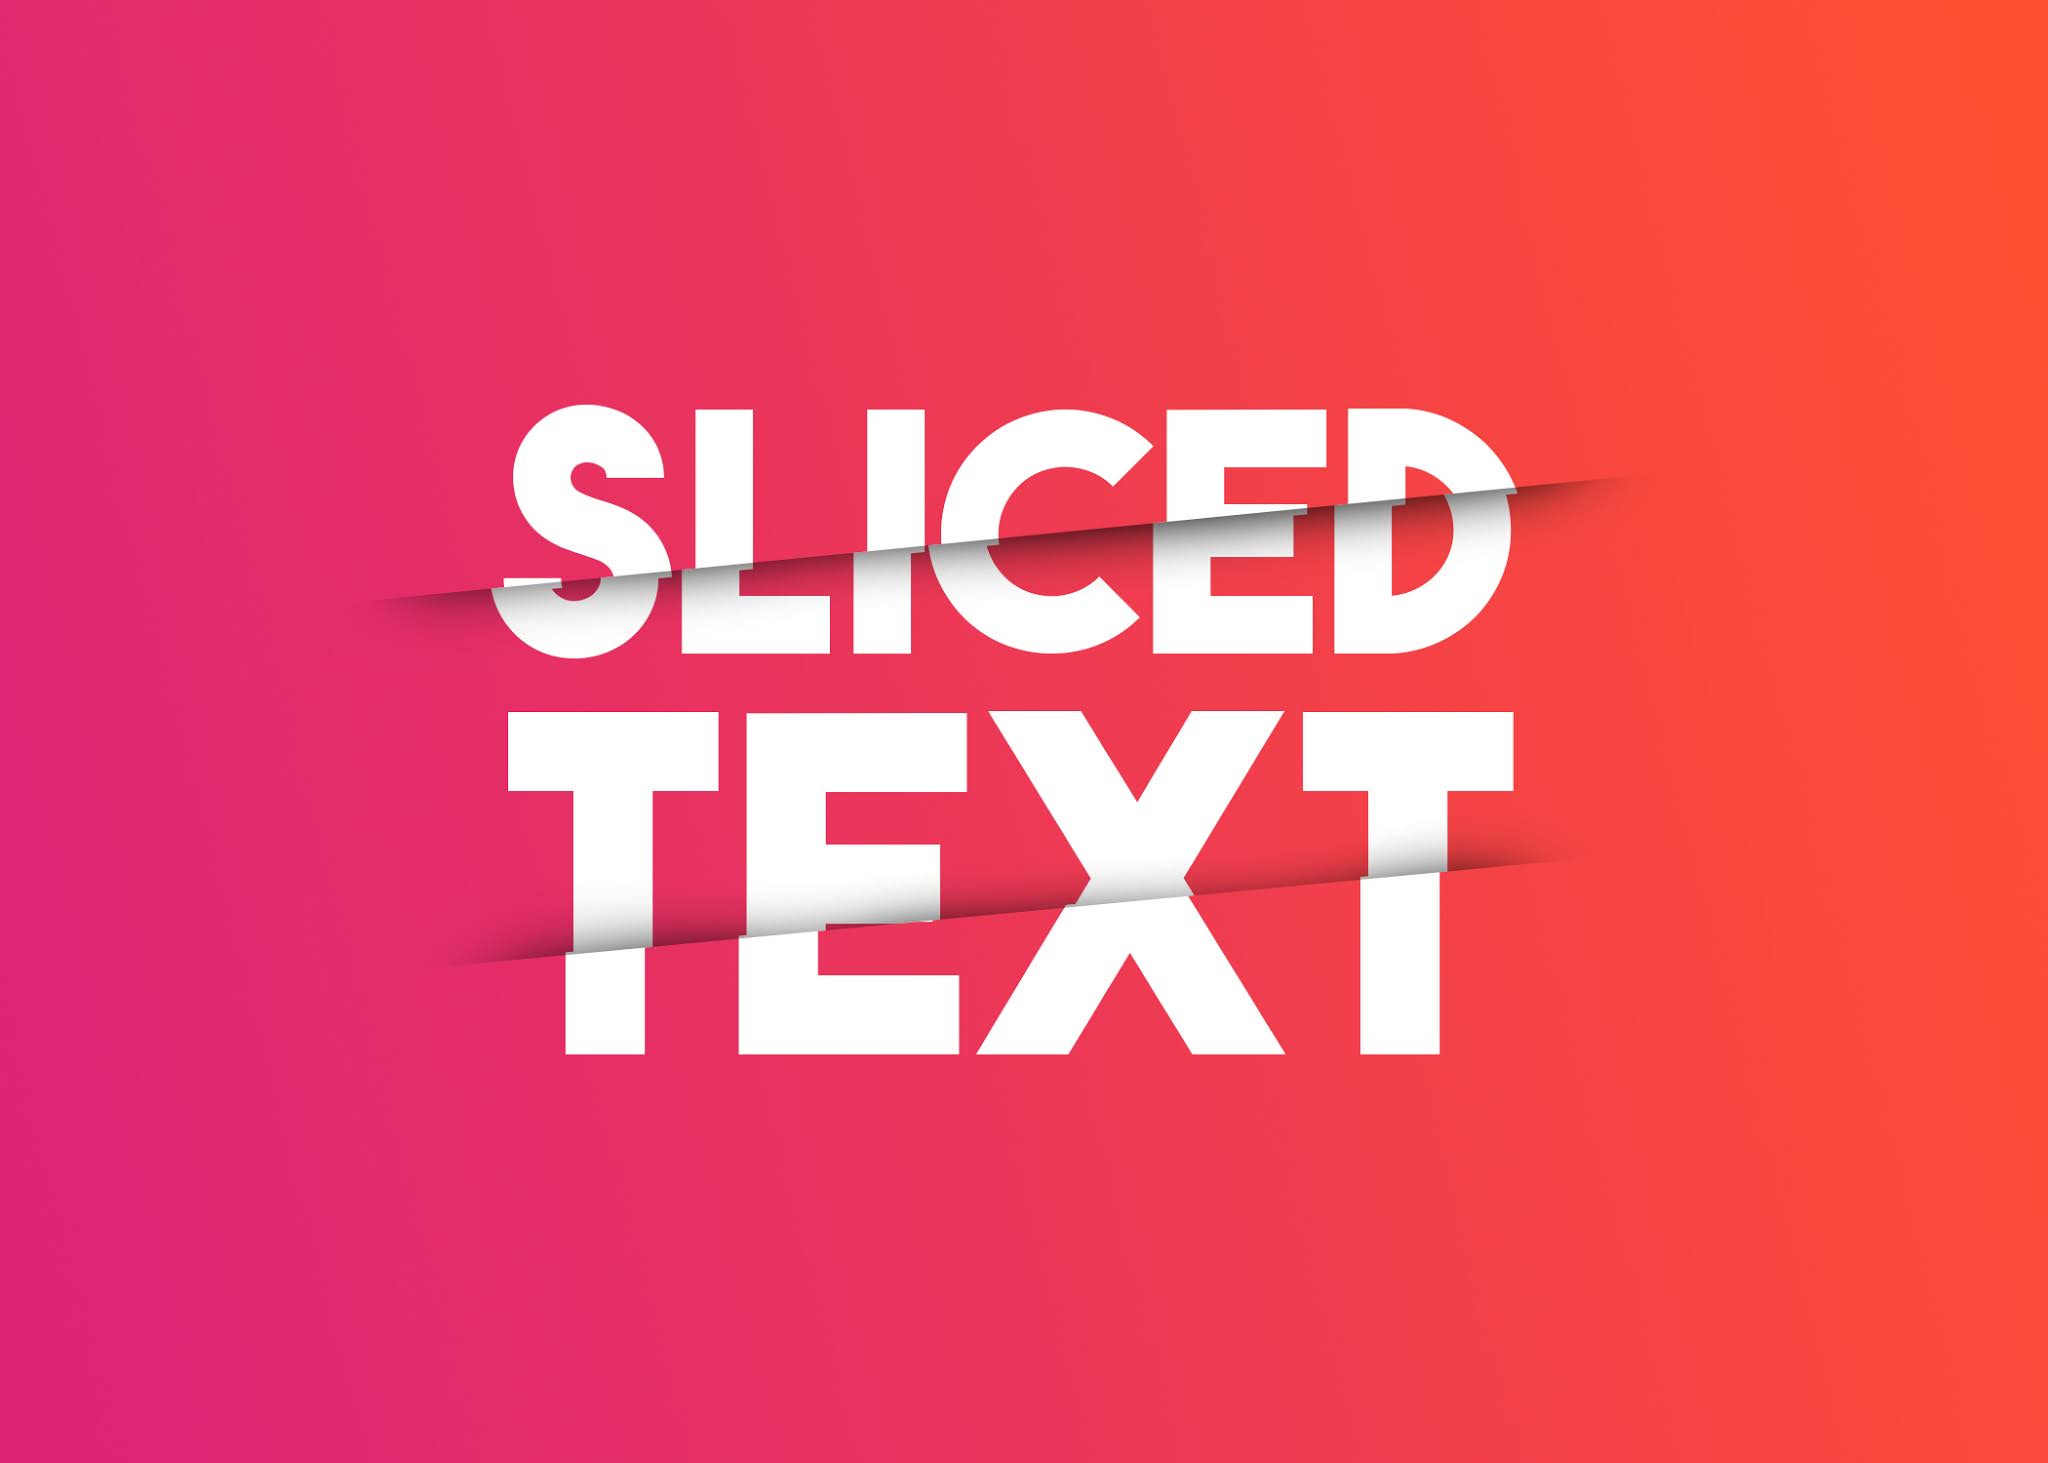
Type your text by using an eye-catching font. I used ‘The Bold Font’ typeface. When you type more than one word try to use guides to justify the words.

Read: How to Create the Glow Effect on Photoshop
Step 3
Create a Selection. You can use Pen Tool or Polygonal lasso Tool to select.

Step 4
Add a mask by pressing alt + layer mask icon

Step 5
Duplicate the text layer by pressing ctrl+J

Step 6
Invert copied layer mask with ctrl+I and Moved the text little bit towards left or right

Step 7
Create a new layer and ctrl + click the layer mask as shown in image

Step 8
Give a Shadow effect by painting the selection area using Brush tool

Now you made it! Add this cut out text effect in photoshop future projects and take it to the next level. If you like these types of short PS tutorials drop a comment. It will motivate us to post more useful tutorials like this and don’t forget to share!